

For a long time, the topic: Multilingualism and Webflow was a conflict in itself. Complicated workarounds were needed. Weglot cleaned it up at some point and a created a great tool for multilingualism of Webflow websites.
With the launch of Webflow Localization, however, the question now is: Do I still manage my languages in Weglot, or do I move everything to Webflow?
The benefits of Webflow Localization over Weglot
Weglot is really great and offers a lot of features. However, the ease of use is somewhat limited, as you have to access the Weglot Dashboard to manage other languages and changes. For us, the biggest advantages of Localization over Weglot are:
- Seamless integration: Webflow Localization is integrated directly into Webflow Designer. Means that you can build, manage, and publish your multilingual website within the familiar Webflow environment without adding external scripts or services.
- Design control: Since Webflow Localization is integrated directly with Webflow, you have full control over the design and placement of language switchers. You can adapt the look of your language selection to the overall design of your website without compromise and place it freely. This of course is also possible with Weglot, requires a little custom code experience though.
- No third-party dependencies: With Webflow Localization, there is no need to rely on an external service. This can have advantages in terms of your site's page speed, as less external content needs to be loaded.
- SEO benefits: Webflow offers the option to create your own URLs for each language version and also to include them perfectly in the automatic sitemap. This allows search engines (SEO) to regard each language version of your website as a separate entity. The granular SEO settings go, of course, to meta titles and meta descriptions for all languages and pages. This allows you to adjust your international SEO strategy. Weglot also offers this feature from the Pro plan onwards.
- Cost control: While Weglot is based on a subscription model based on the number of words in combination with the number of languages on your website, Webflow only charges for the localization plan you have chosen (no additional costs if you have a lot of content).
- Data protection and data sovereignty: Since no data has to be sent to third parties when using Webflow Localization, you could be better off when it comes to data protection and data sovereignty. This is particularly important in light of GDPR and other data protection laws.
Switch from Weglot to Webflow Localization
But now to the nitty-gritty — how do you make the switch without losing all content and links from Weglot and getting a serious SEO damper?
Step 1: Activate Localization
The first step is to activate localization in your Webflow project. You can find this in the Webflow Designer settings under the “Localization” tab. This activation is your starting signal and activates all necessary features in the Webflow Designer. We recommend that you buy the necessary Localization Plan now to unlock all features. This allows you to transfer everything behind the scenes in peace.
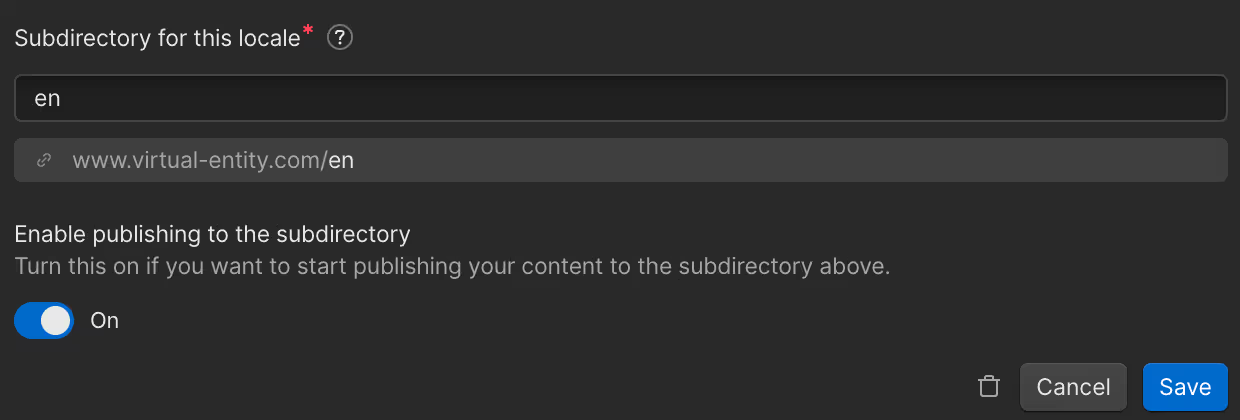
Attention: From here on, it is important that you deactivate publishing on the subdirectory of your new language. This prevents a conflict between Webflow Localization and Weglot.
In principle, we always recommend the Advanced Localization Plan. Only with this plan you can set up local URLs and your website really becomes internationally SEO-ready.

Step 2: Broadcast content behind the scenes
This is where it gets a bit tricky. You'll need to export your existing content from Weglot and then manually add it to Webflow for each language. Unfortunately, Webflow only offers a limited automatic translation function. But since your content should already be translated by Weglot, you can simply go to your live website and copy and paste text by text.
To do this, switch to the language version whose content you want to edit and start the time-consuming manual work. Attention: Please keep in mind that you must also do the whole thing for:
- Meta titles and meta descriptions of all pages
- CMS entries (such as blog posts etc.)
- URLs (including from CMS directories and CMS pages)
Try to work as precisely as possible here, which makes the correct relaunch seamless and loss-free in the end.
Step 3: Installing a new language switcher
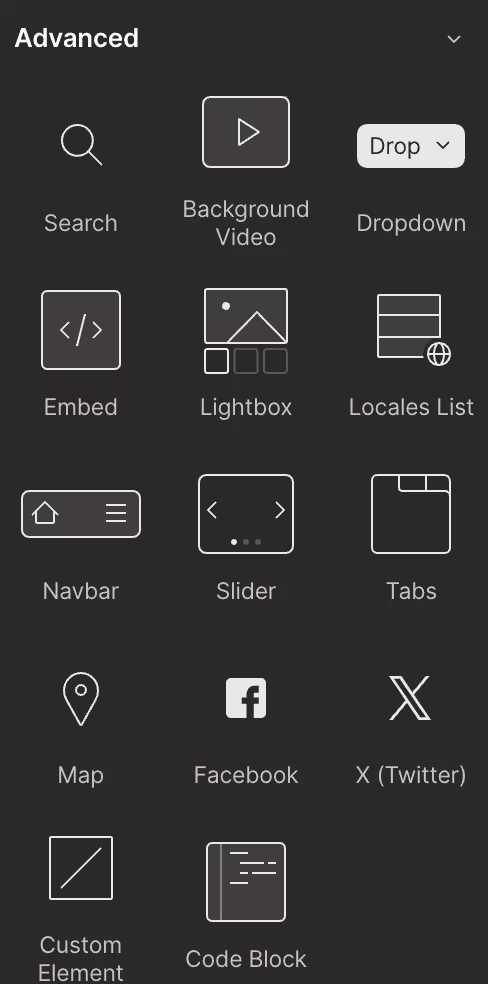
In Webflow, you can create your own language switcher as a “Locales List” that fits seamlessly into your design. The locales list works just like a CMS collection list and thus offers all the design freedom you are used to from a Webflow Designer. You are also not limited to a single language switcher, but you can place locales list wherever users should be able to change the language.
Pro tip: It is also possible to activate automatic visitor routing in the Localization settings. As a result, users are redirected directly to the language that corresponds to their browser language.
Step 4: Throw out Weglot script
Now it is time to say good-bye. Remove the Weglot script from your Webflow project (probably placed in <head>or <body>in the site settings). In addition, reset the CNAME record to the settings specified by Webflow. This is how you remove any connection from your website to Weglot and ensure SSL encryption and the overall functionality of your site.
Step 5: Enable Localization Publishing on Subdirectory
Webflow allows you to publish every language version of your website in a separate subdirectory. This significantly improves SEO and usability. Now activate publishing for all subdirectories that have been set up.
Step 6: Publish
An obvious but decisive step. Publish your website to make the changes live — your change is now (almost) complete.
Step 7: Test links and set up 301 redirects
After you've gone live, test all links thoroughly to make sure there aren't any 404 errors. If you've transferred all URLs from Weglot precisely, there shouldn't be any problems here. If so, set up a 301 redirect for all 404 error pages so that the pages remain accessible.
Concluding thoughts
Switching from Weglot to Webflow Localization might seem challenging at first, but with this step-by-step guide, you're in good shape. The key is careful planning and execution to ensure that your multilingual website not only runs smoothly, but is also optimally optimized for your target audience and search engines. Should you run into a problem despite the instructions above, feel free to write to us and we can help.