

A small note in advance: Often, only the content should be maintained in a CMS because it was created by an agency/freelancer or was taken over from a template. In this case, you can skip the first two steps and navigate directly to the third paragraph.
CMS Setup
The first step is to create a CMS for your blog. To do this, you can use the Webflow template and customize it as you like, or define your own input fields. Of course, you need a separate input field for each field on your blog page, which should differ per post.
Classic components of a blog page (this one too, by the way) are:
- Headline
- cover photo
- Alt-Tag cover
- Author name
- Publishing Date
- Blog Post Rich Text
- Category (s)
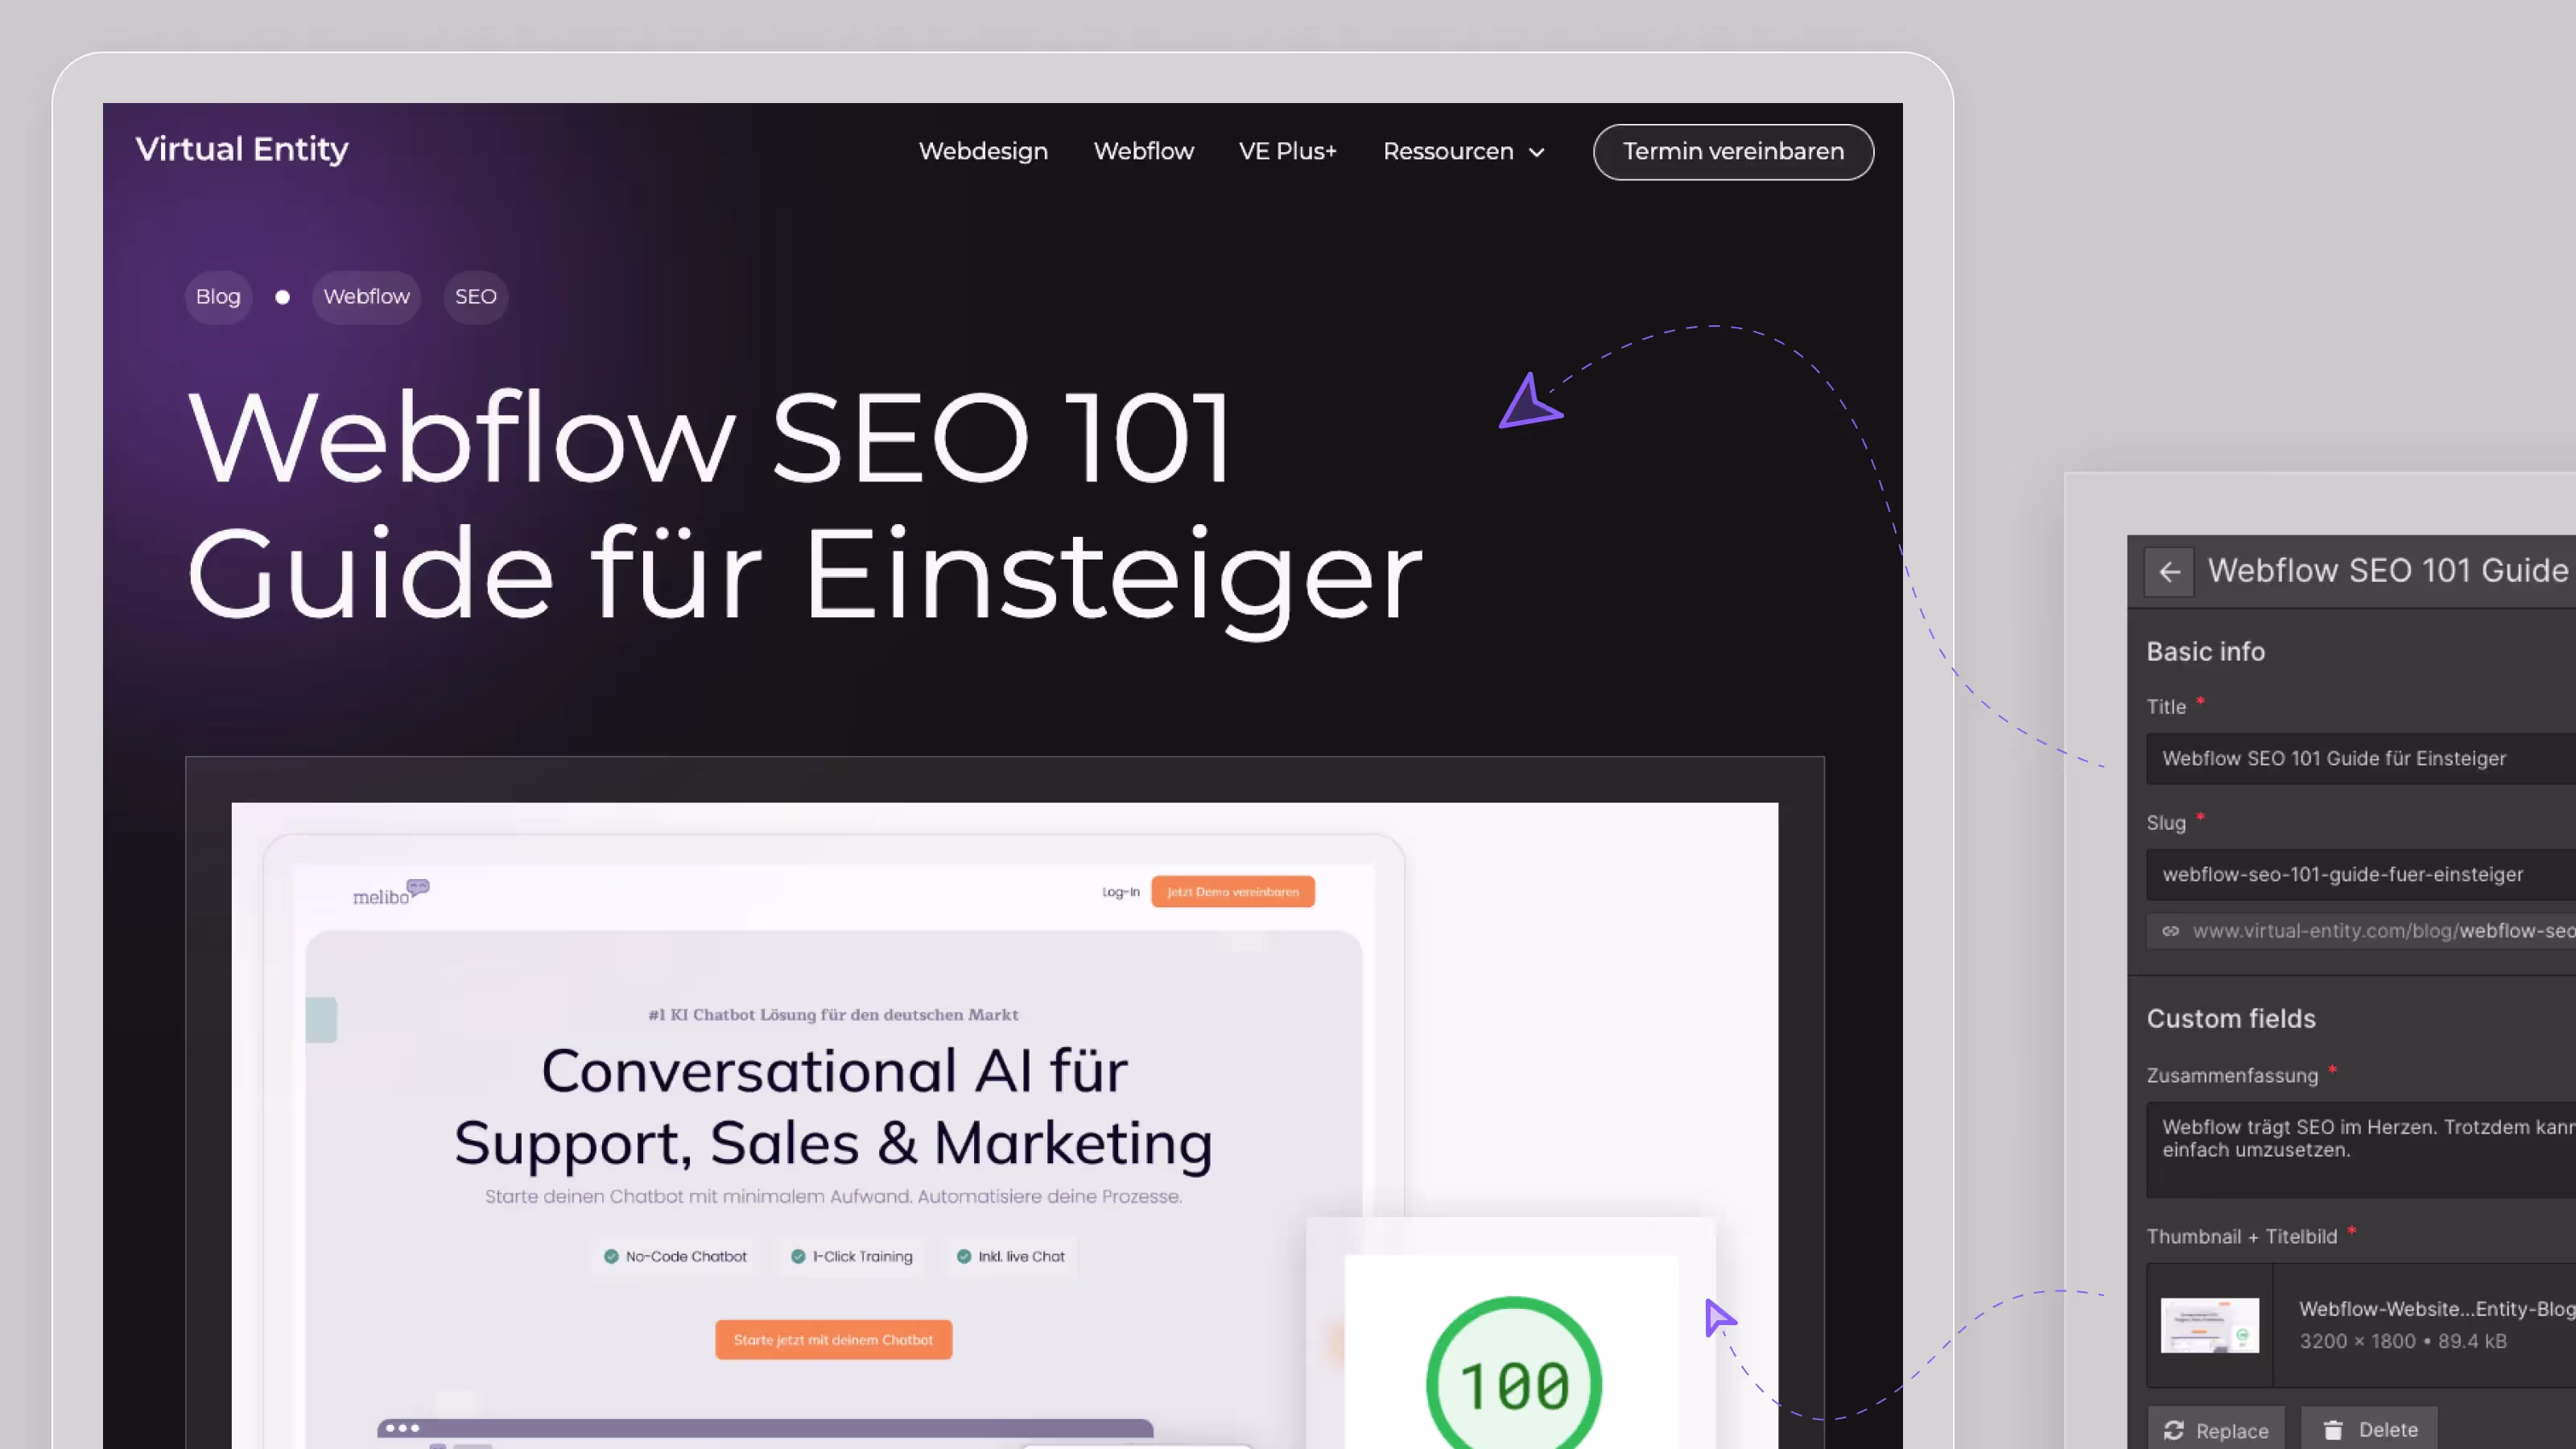
This picture shows how we defined them in the background in the CMS:
Of course, you can also have Webflow Experts set up these structures in the background or buy a template that meets your exact requirements.
Connect CMS to Page Layout
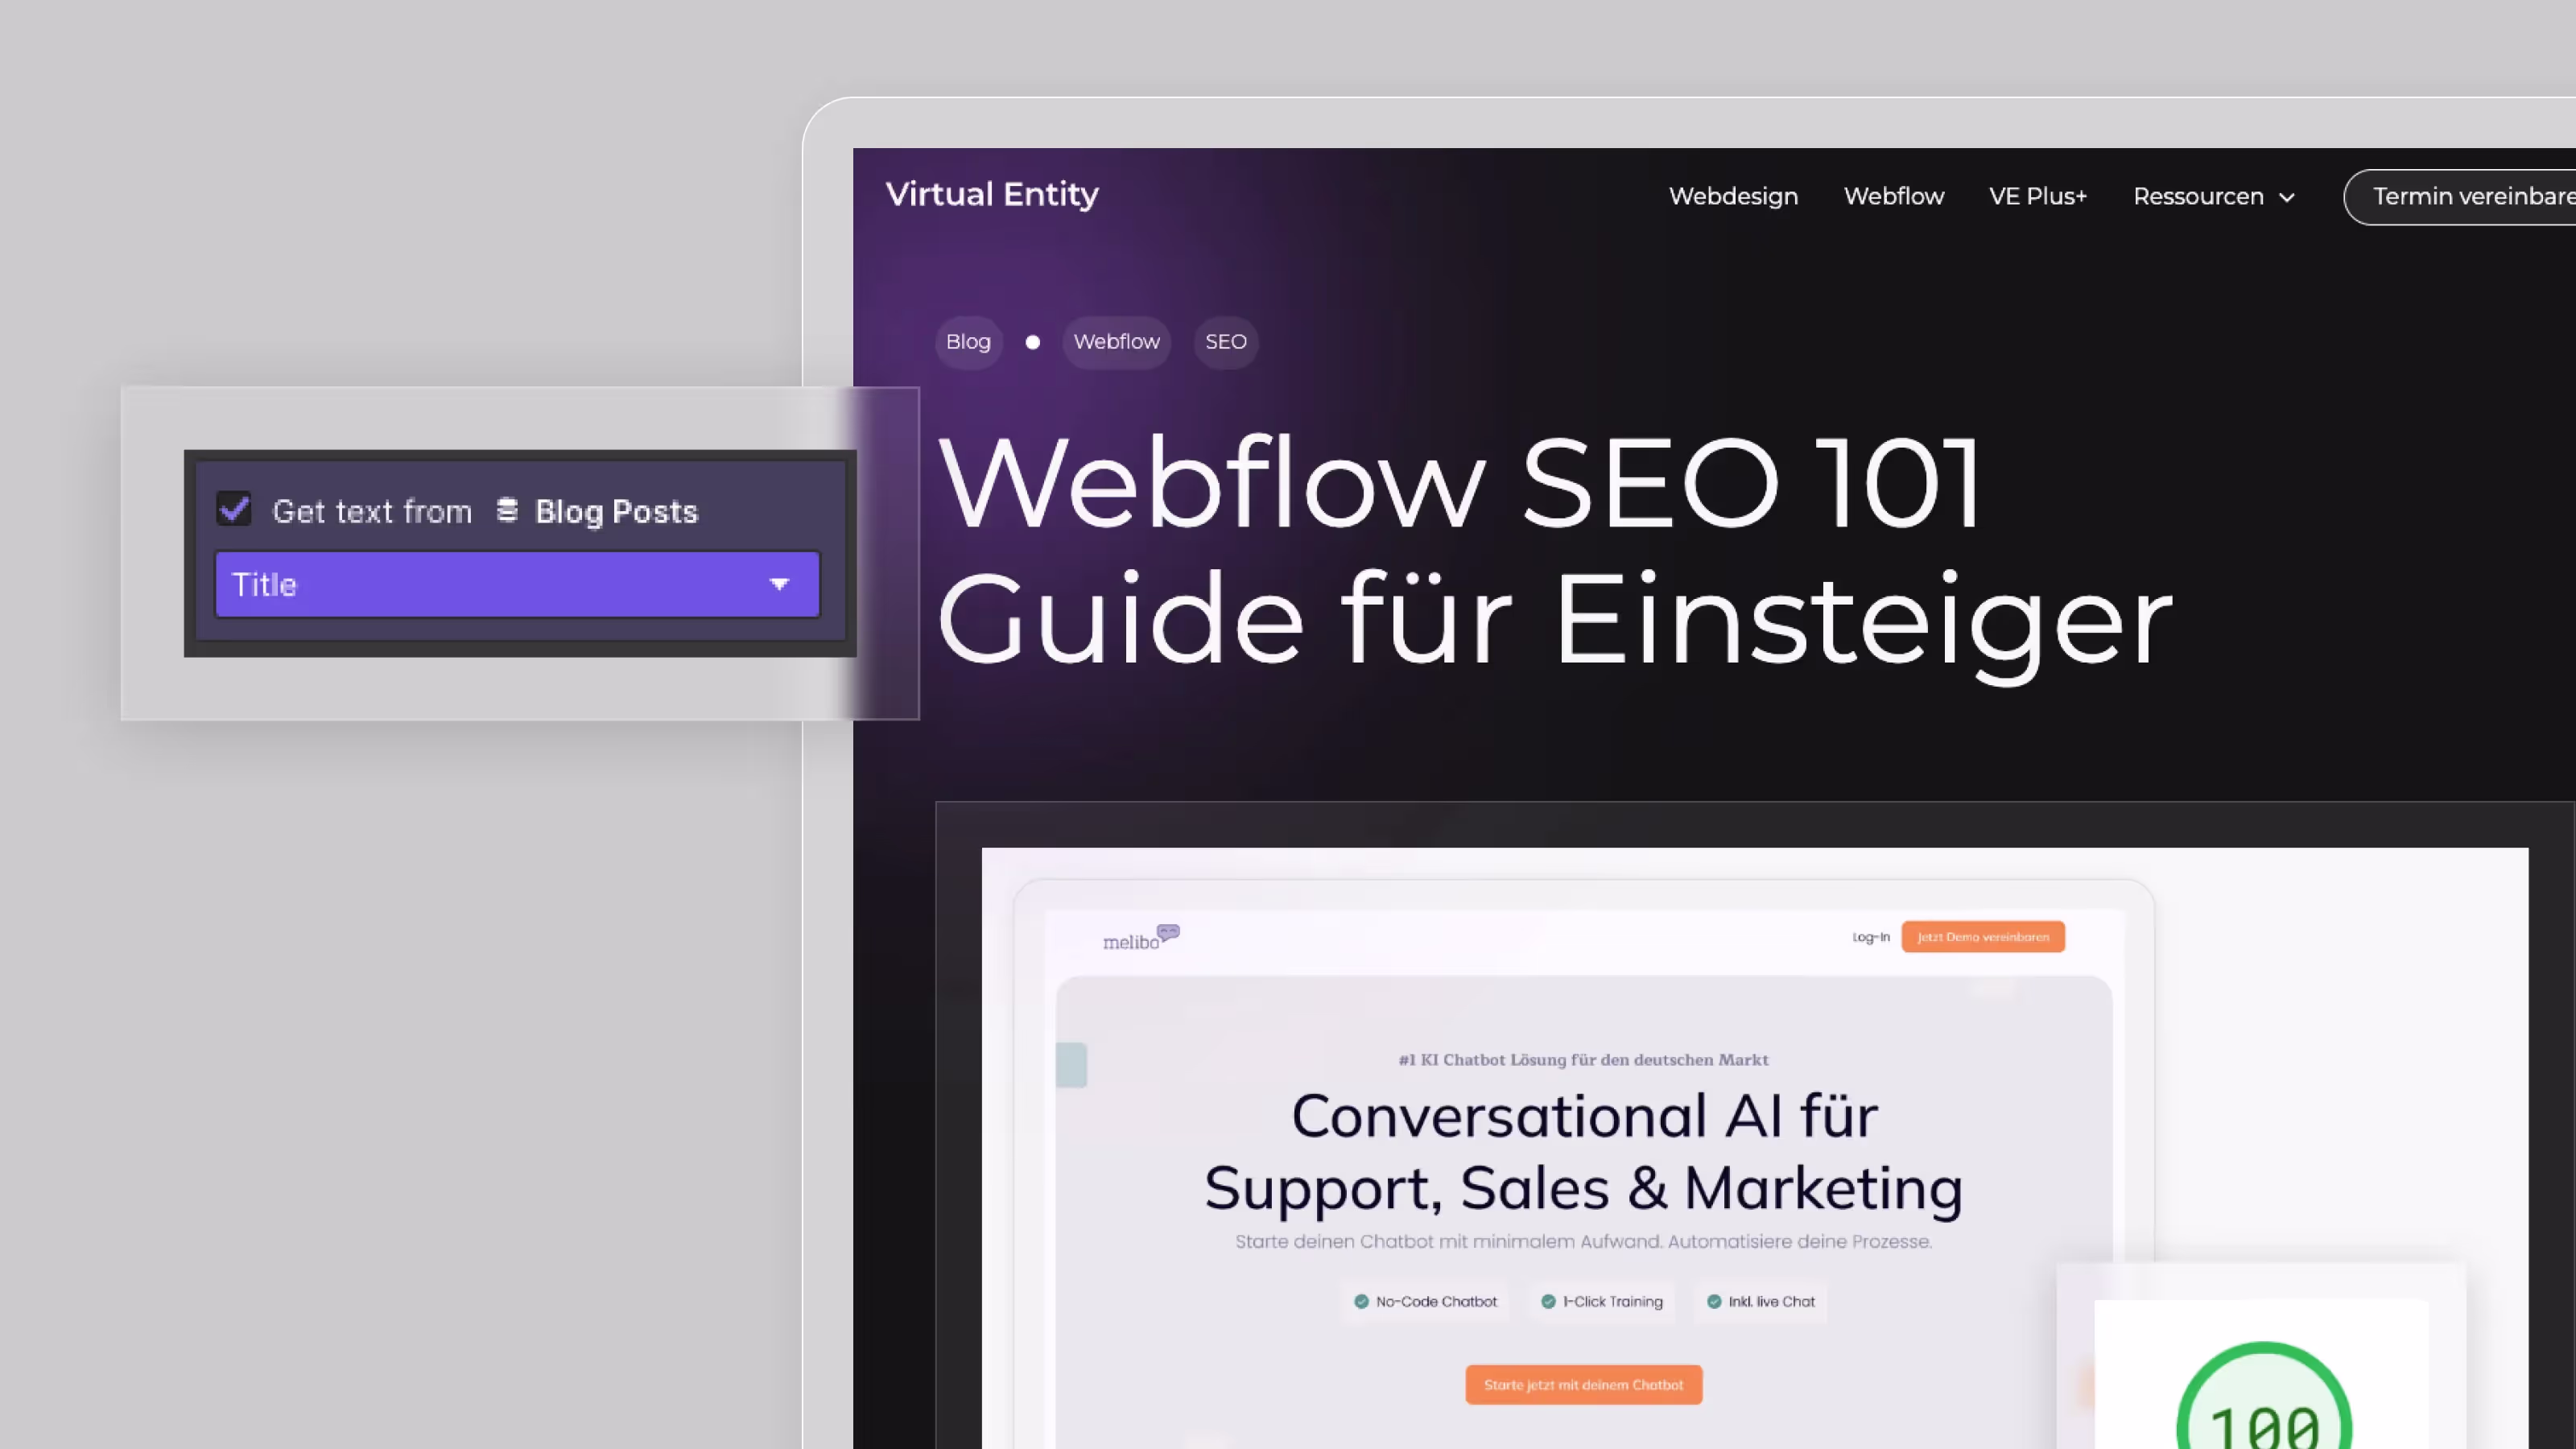
Once the CMS collection has been set up and at least one post has been uploaded, it is time to combine the still static content of your blog page with dynamic components from your CMS. To do this, select an element and connect it to a CMS input field via the settings. This step is also already predefined for templates (or pages made by experts) and requires no further assistance from you.
Upload, edit, and delete CMS content
Now for the actual core of the CMS feature: being able to upload, edit and delete dynamic content. If you upload a new post via the editor, you can almost magically watch how your content “creates” a completely new page. The template you created earlier will therefore be filled with new content and will be available to everyone online after publishing.
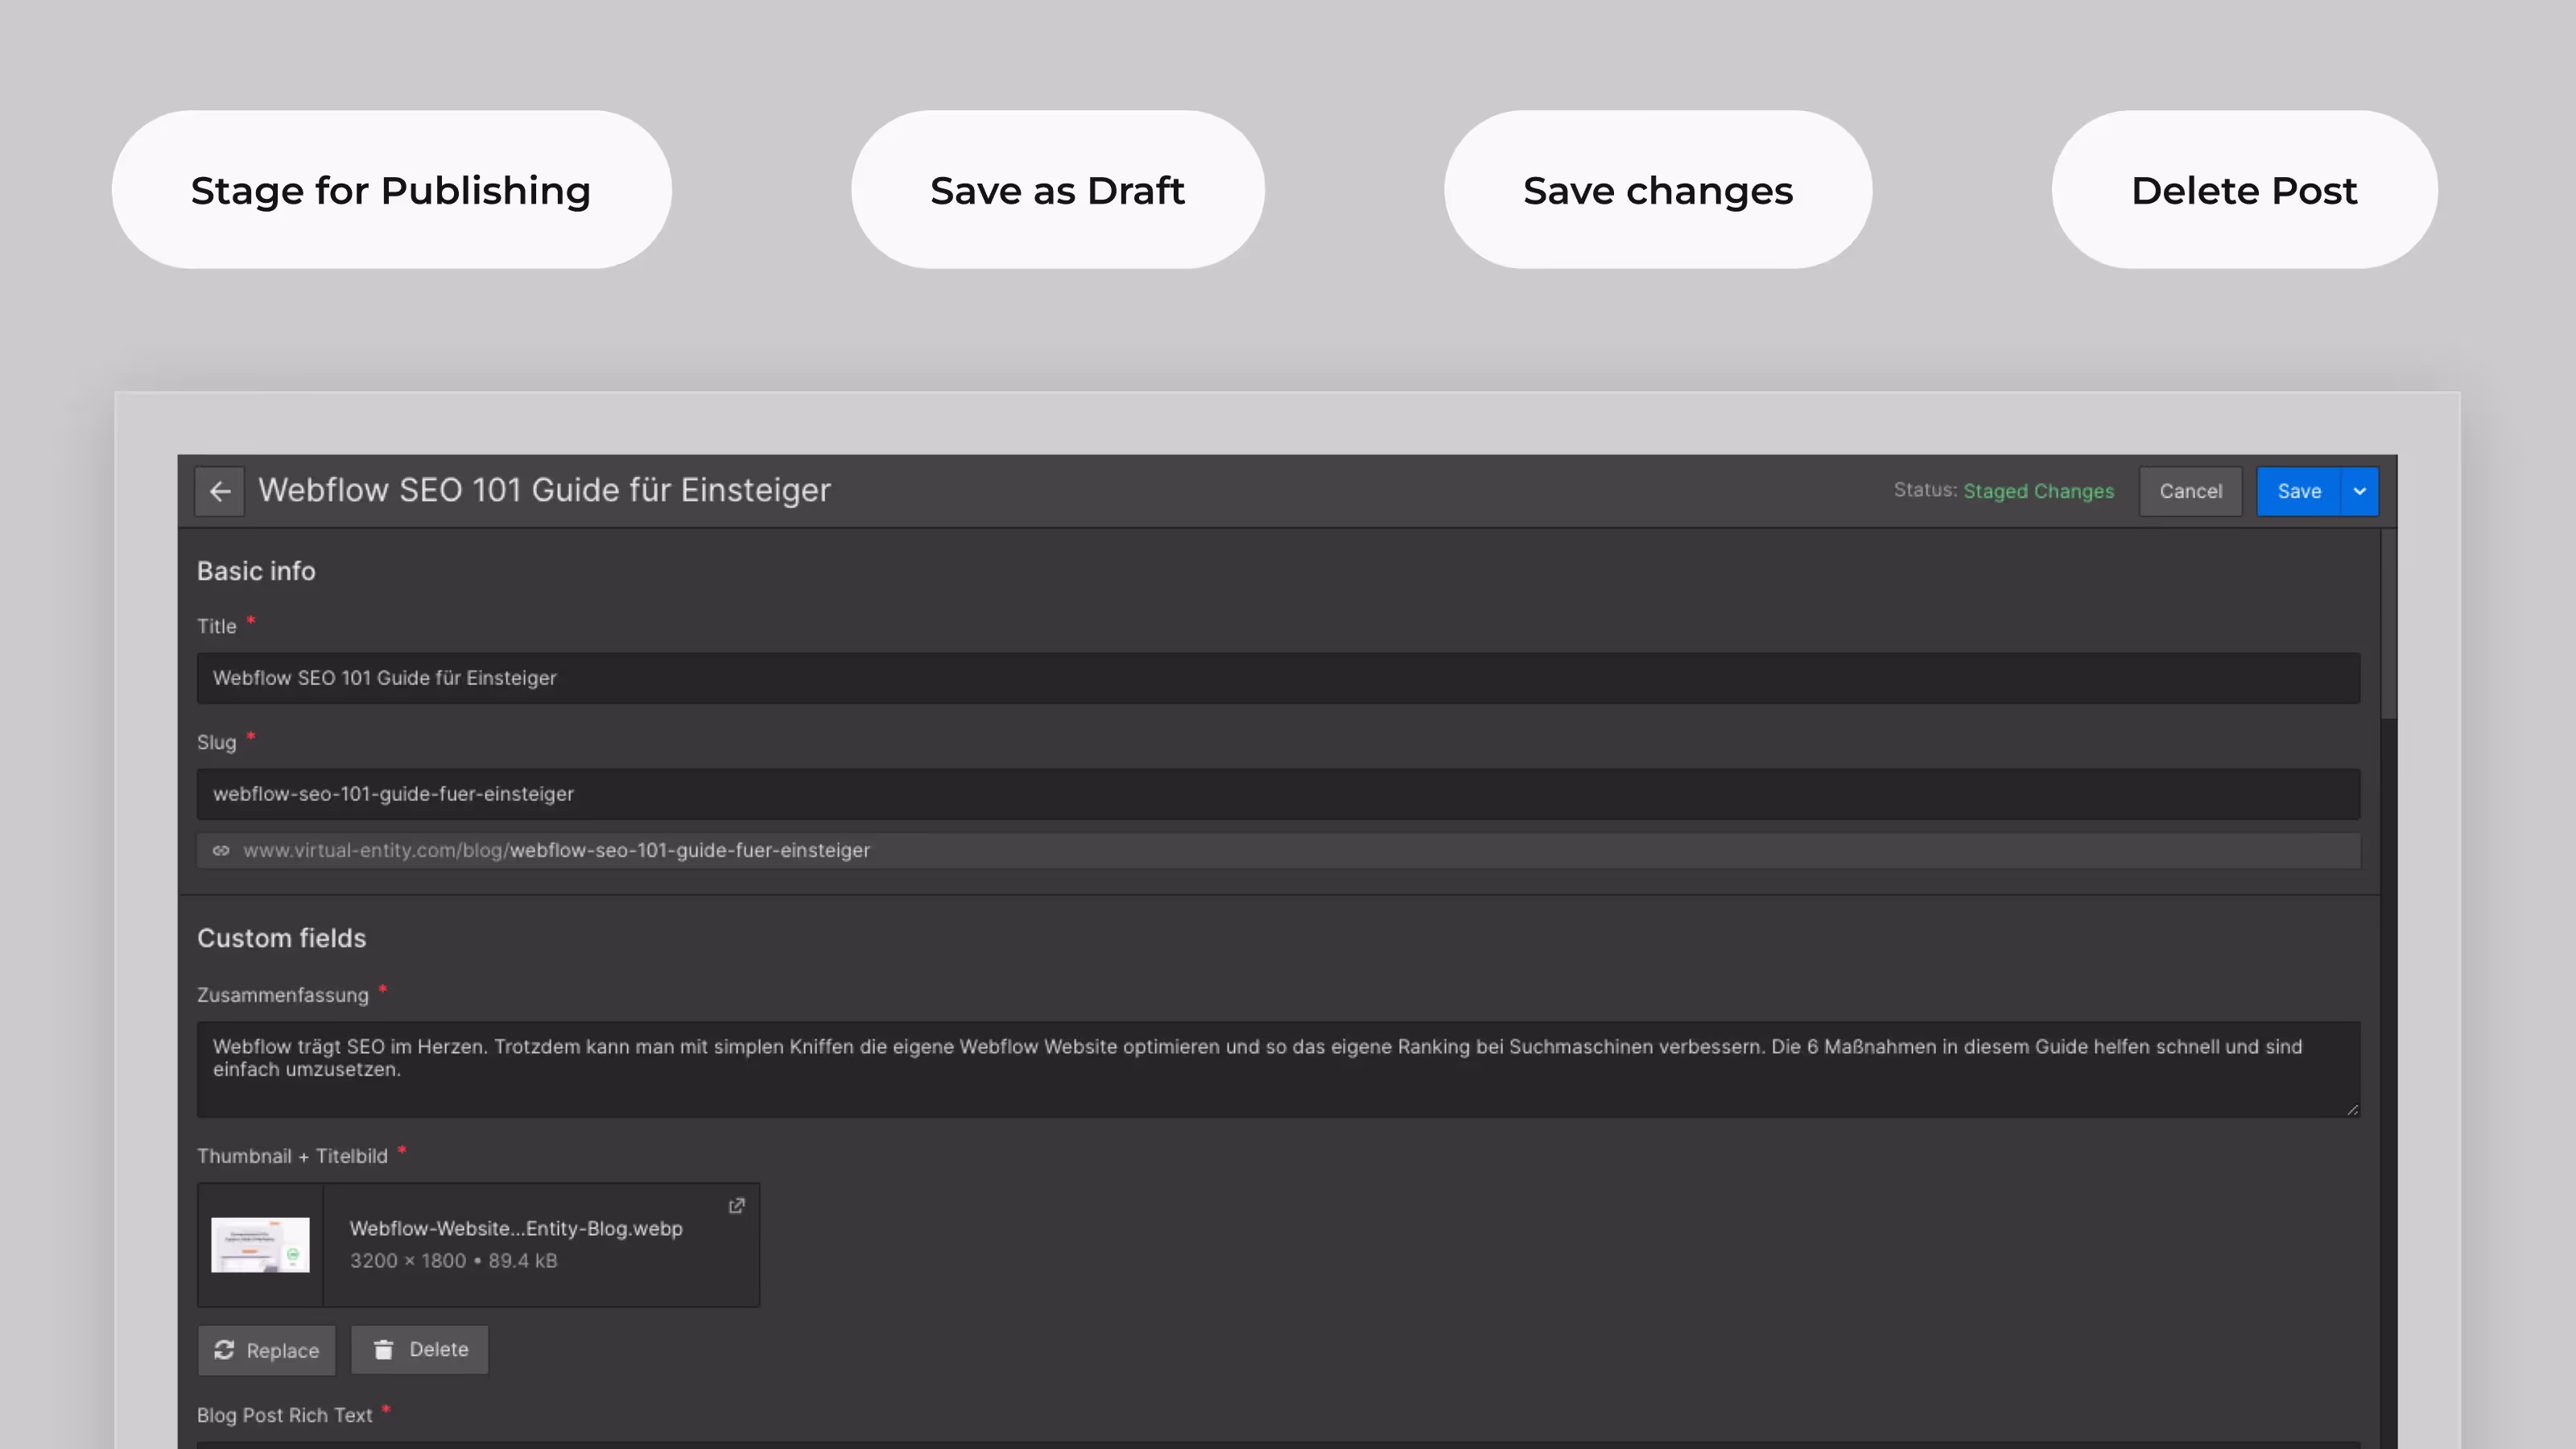
Deleting and editing posts works via the same interface, making content maintenance child's play.
Areas of application for the Webflow CMS in addition to the blog
Even though blogs are the classic application area for CMS features, there are some areas of application in which a CMS collection makes sense. For example, you can:
- Team members are stored in a CMS and thus also act directly as authors for blog posts
- Case studies are stored in a CMS so that the latest case studies are always automatically displayed at the top of the website
- podcast episodes and transcripts are displayed in a CMS layout
- FAQs are scalable and easy to maintain managed via a CMS
- or even entire landing pages can be created and edited via the CMS (this makes it super easy for marketing teams to create new landing pages in no time at all)