

Increase the page speed of your Webflow website with 5 advanced steps
You have our 5 page speed tips for beginners implemented but not yet achieved the desired results? No problem! Here you can find 5 more performance tips, but for them you need a certain basic knowledge of Webflow.
Your guide to optimized page speed in Webflow
Why, and that page speed is important for the user experience and your ranking on Google and other search engines, is explained in our first post: Webflow Page Speed Guide for beginners.
If you've already implemented the tips from the first article in this series, but would like to get more out of your site, we've put together another 5 tips here. But beware, the tips are easy to apply with a little previous knowledge, but as a beginner, certain passages can be confusing.
1. Optimize your font set
Fonts are used on every website. These are usually defined in a company's design guidelines and should therefore also be used on the website. The problem: Each font weight is a single file that must be loaded when the page is accessed.
Therefore, on the one hand, you should delete all fonts and also individual font weights that are not used. To do this, go to the Settings/Fonts page and click on the small “trash can” next to the fonts that you no longer need. On the other hand, you should upload all used fonts in their compressed form (WOFF or even better WOFF2). If you don't already have your fonts in this format, there are a variety of providers on the Internet who will do the compression for you.
2. Distinguish between eager and lazy loading
You can define when an element should be loaded directly in the settings. To deliver an optimal experience with reduced loading intensity, all elements “Above-the-fold” (i.e. all elements above the edge of the screen when a user comes to your site for the first time and hasn't scrolled yet) should be set to “Eager Loading” and all others should be set to “Lazy Loading”. This guarantees that all elements above the fold are loaded directly with the page and that there are no unpleasant delays. However, all other elements below the “fold” are only loaded when a user starts scrolling.
To manipulate the loading properties of elements, click on an element (e.g. an image) and navigate to its settings:

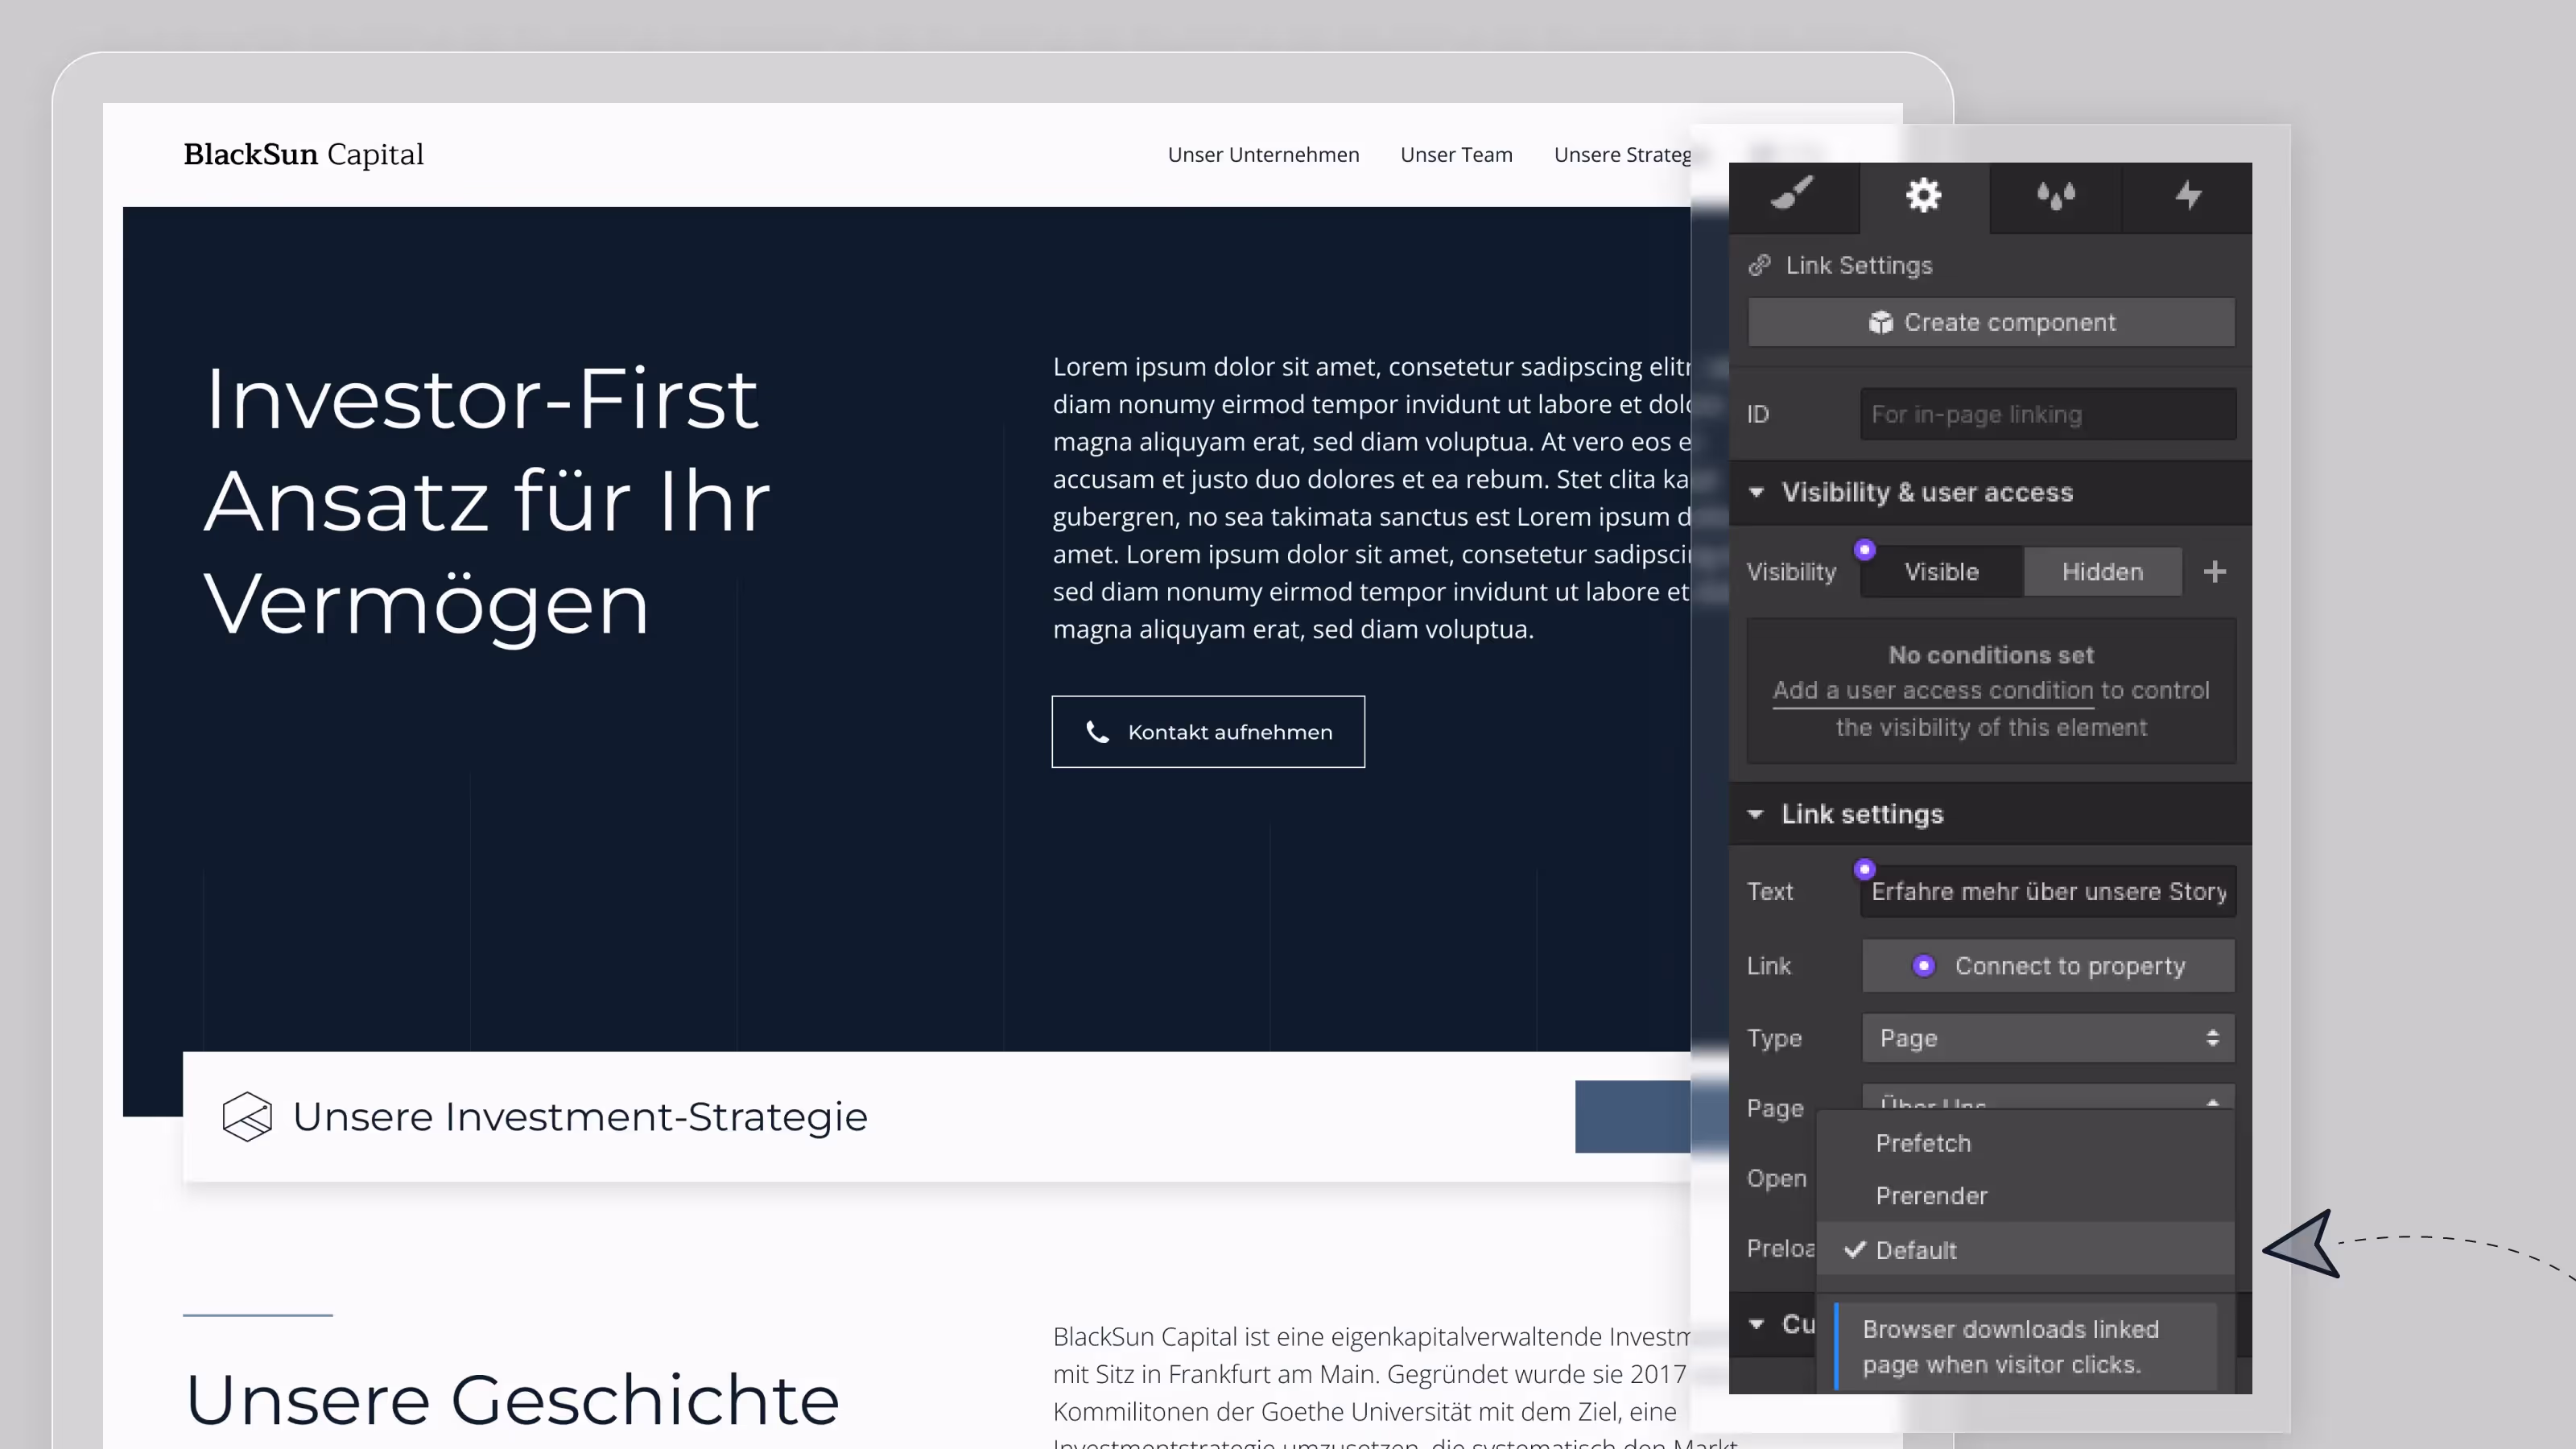
3. Avoid preloading sub-pages
Preloading gives you control to tell a browser to preload content that is needed in the near future. In a checkout process, for example, it may be useful to pre-load all steps of the checkout to enable seamless navigation between steps.
On the other hand, preloading results in more content being loaded than a user is currently consuming. This paired with the assumption that all users navigate differently is reason enough to refrain from preloading. This setting is also the default mode for links in the Webflow Editor. If you have nevertheless placed certain links on Preload or Prefetch, we recommend that you undo this if it is not absolutely necessary.
4. Avoid (big) animations
Animations are brilliant. They breathe life into a website and a certain level of interaction. However, they are also one of the biggest pagespeed killers. Due to the high loading intensity of animations, you should try to use as few as possible. In particular, avoid animations that interact with a user's scrolling progress. Since a browser must render every state of these animations, they slow down your page speed tremendously.
5. Delay of non-essential scripts
In the first article in this series, we already wrote about avoiding external scripts as much as possible. If they are still necessary, it makes sense to delay them until they are needed. Especially with conversion pixels and similar scripts, it makes sense to load them first on a checkout/ conversion page. The Google Tag Manager delay function is suitable for this purpose. You can also use defer and async to load scripts asynchronously or downstream. How to do that can you in this Cloudflare blog articles read.
We hope that these 5 tips will help you increase your page speed quickly and hopefully not too complicated. If you would like to have all tips (beginners and advanced) condensed again as a checklist, please send us an email to hello@virtual-entity.com.